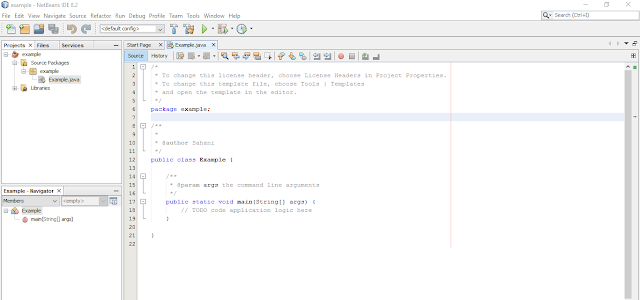
Here is a quick guide for you to start a java project with NetBeans.
1.First Start the NetBeans IDE.
In this it will show the recent projects. As this is your first project, you will get nothing here.
2.Then go to Files New Project
3. Then you will get New Project wizard. In that you have to select the category and projects. You need to select them as follows.
Then Click next.
4. Then in this step you need to give the name of your application and the location where you are going to locate it.
(For my project I gave the name as ‘Example’. You can give a name as your desire and you can browse and select the location you want. )
Project Folder and create main class field will change accordingly. Leave the rest as follows.
Then click Finish.
Then you will get the editor. Beside that you will get the project window and it will contain a tree view of components of the project including source files, libraries etc.
And there is navigator window, which you can use to quickly navigate between elements within the selected class.
Now you are ready to add your code to the project.
Let’s see how to add the code and run the project.
We'll add a simple code to print Hello World.
Then we need to save, compile and run the project.
To save ---> go to file at the top left corner and select save.
No need to do the compilation separately. We only need to click the run button.
The Green Color Triangle shape button is the run button
Then you will get the output as follows.
If you get the output as above, Congratulation your code is working.
Now it is time for you to add more codes and run the program.


No comments:
Post a Comment